From Raspberry Pis to Something More Permanent
I’ve been working in IT for a long time. Most of my professional world has been centered around Windows, but Linux has always been there in the background. I have dabbled with it plenty of times over the years. I’ve spun up Debian installs, tinkered with pfSense, and played around with Pi-hole. Every time, I have enjoyed the process, but none of those projects stuck around for the long term. They were fun experiments rather than something I depended on day to day.
That is something I would like to change. With this new homelab setup, I want Linux to play a more permanent role in my home environment. Proxmox will help me grow technically. It will give me a stronger foundation to build on. It will also create something maintainable over the long run. The goal is not just to tinker. It is to create a setup that evolves over time. This setup should scale as my needs grow. It should also give me the chance to try out new tools and approaches in a safe space.
I’ve owned multiple Raspberry Pis and had good fun with them. One would be a Pi-hole, another would run Home Assistant or RetroPie, and so on. They worked, but over time each one ended up unplugged and left in a drawer. The idea was always to build a proper setup, but I never followed through in a meaningful way. This project feels different because it is not a single-purpose toy that can be forgotten, but a platform that could underpin a lot of things in the house.

A few years ago, while renovating the house, I had the foresight to run network cabling through the walls. All of those cables now meet in a bundle under the stairs. At the moment it is a tangle of wires rather than the neat and tidy patch panel I imagined. The long-term plan has always been to sort it out properly with trunking, PoE switches, and decent whole-home Wi-Fi. That is finally starting to happen. I have already installed a Ubiquiti access point, and a Cloud Gateway is on its way. The pieces are beginning to fall into place. Knowing the network backbone is in place makes this homelab project feel far more sustainable.
Alongside the networking setup, I have had a stripped-down Windows 10 laptop serving Plex and Emby for years. It has been solid and dependable, but Windows 10 is reaching end of life. That got me thinking. I could just replace it with another Windows machine, but I want to push further this time. Media serving is important. However, expanding into automation, self-hosted services, and learning opportunities is a chance too good to pass up.
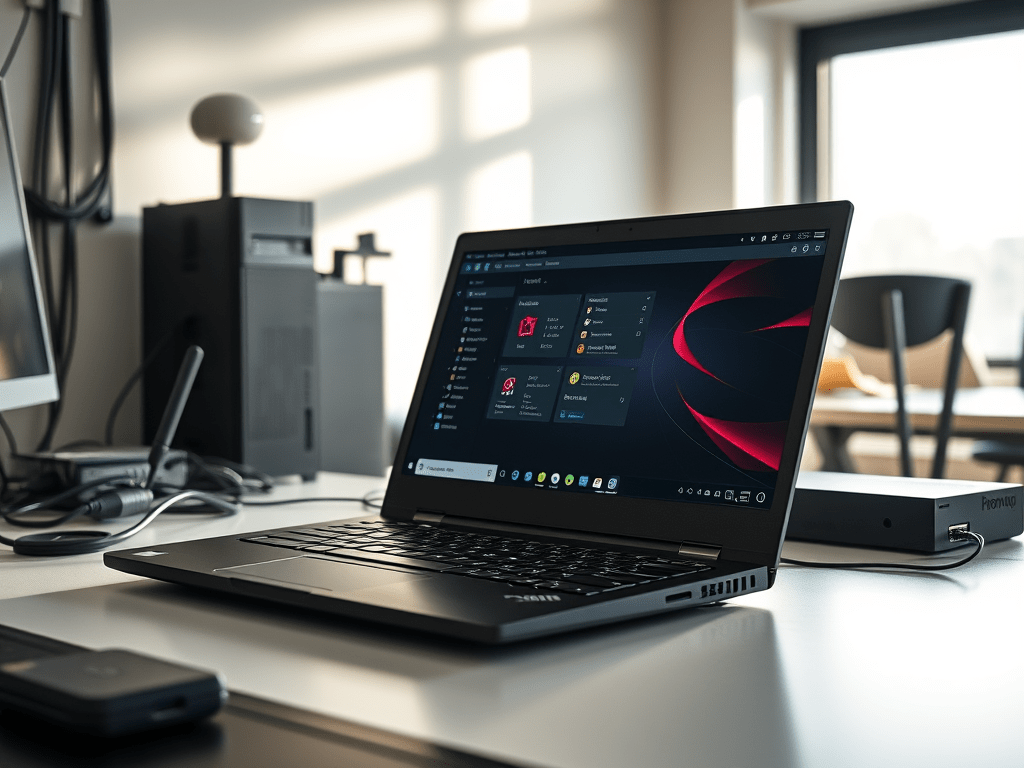
When a spare Lenovo ThinkPad (10th-gen i5) came into my hands, I knew I had the opportunity. Rather than install Ubuntu or another Linux distribution directly, I wanted to try something more ambitious: Proxmox. This would let me virtualise, containerise, and really start to build a homelab that goes beyond just media serving. The goal is to create a platform for learning, automation, and experimentation. At the same time, it will handle the everyday jobs the family expects. A system that could become the hub for my technical curiosity.
This is the first post in a series documenting the process. It won’t be a flawless guide. I will include the missteps, the head-scratch moments, and the inevitable mistakes, because that is what real-world projects look like. If sharing those saves someone else a few hours of frustration, all the better. Selfishly, it will provide a record of what I did. I can look back and see how far the setup has come.
Specs: The Donor Laptop
The laptop I’m starting with is a Lenovo ThinkPad:
- Intel Core i5 (10th Gen)
- 16 GB RAM
- 512 GB SSD
- Onboard Wi-Fi


It is not perfect, but it is more than enough for containers, media streaming, and some services. It does not need to win benchmarks. It just needs to sit quietly out of the way and get the job done. Starting with a laptop has a built-in UPS of sorts. This is thanks to the battery, so I don’t have to worry about short power cuts bringing it down. It is also small, quiet, and energy-efficient, which makes it a great candidate for 24/7 running.
Choosing Proxmox: Why Not Just Install Ubuntu?

I could have gone with Ubuntu Server and manually set up Docker, Jellyfin, Sonarr, and the rest. But I wanted more structure and a chance to learn about virtualisation in a proper way. I have a platform that abstracts some of the heavy lifting. It still lets me dig into the details. This feels like the best of both worlds. There are lots of options. One day I’d love to jump into is Unraid. Right now, for ease of use and simplicity, I’ve gone with Proxmox.
Proxmox offers:
- A web UI for managing VMs and containers
- Built-in snapshot and backup tools
- A solid base for virtualisation concepts
- The option to scale later with clustering if I add more machines
- A free platform backed by a strong community
Unraid and TrueNAS were on my radar, but I am not ready to build a full NAS or dive into ZFS yet. Proxmox feels like the right balance between flexibility and manageability. It is also widely used in the homelab space. This means there are plenty of guides, community posts, and YouTube videos. I can rely on these resources when I inevitably hit snags.

Installing Proxmox: Getting Over the First Hurdles
What you’ll need
Proxmox – https://www.proxmox.com/
Ventoy – https://www.ventoy.net/
I downloaded the latest Proxmox ISO and used Ventoy to create a multiboot USB. Ventoy is a handy tool that allows you to copy multiple ISOs onto one drive and boot directly from them. No need to reflash each time. Having Ventoy set up already has saved me hours of rework across different projects. It felt like a no-brainer to use here.
BIOS tweaks required:
- Disable Secure Boot
- Enable Virtualization (Intel VT-x)
- Set Boot Mode to UEFI
With those set, Proxmox booted cleanly and the installer was straightforward. It felt reassuringly quick compared to some of the drawn-out Linux installs I’ve done before.
There are some things which tripped me up for a couple of minutes but nothing too serious. Ive covered them here just in case it helps anyone else out and saves them some time.
Proxmox Login: Wait, What Username?
During setup I had only set a password. At the login screen, Proxmox asked for a username too. That tripped me up. It was one of those small but frustrating moments where you second-guess everything you just did.
The answer is of course root. No idea why this tripped me up. I know its based on linux so root was always likely. The setup was so user friendly up to this point I think I was just second guessing myself. Anyway just for clarity and anyone who is reading this as an absolute beginner the answer is as follows…..
- Username:
root - Realm:
pam - Password: the one created during install
If you get it wrong, make sure you check the realm dropdown. It defaults to pam, and that is what you need here. Once I got in, I realised this was one of those little details that could easily throw off anyone new to Proxmox. It is worth committing to memory.
That Subscription Message

Once logged in, the first thing I saw was the subscription message:
“You do not have a valid subscription for this server.”
This is normal. Proxmox sells enterprise subscriptions for support and repo access. For home use, you can run the free version. You still get updates, but from the community repo instead. The message is harmless, and while it can be disabled with a tweak, it does not affect functionality. I wont cover it here . Seeing it for the first time did make me pause, but after a quick search I realised almost every homelab setup runs just fine without a subscription. It is just part of the Proxmox experience.
First Impressions
The web UI felt snappy and easy to navigate. Storage was set up on the SSD by default, networking worked straight away, and everything looked clean. I figure that if I want to blow it all away and set up something more complex in future I can back up any container images I make and simply migrate it all over. But for a first-time user, it was far less intimidating than I expected. Having a structured UI makes it feel like you are working with something polished and reliable rather than cobbling together scripts and config files.
At this point I was keen to get something useful running. The next post will cover installing Jellyfin inside an LXC container. It will also discuss connecting it to my Synology NAS. I already have a laptop running Plex but this feels like a good place to start.
That is where the real fun begins, with plenty of trial and error to come.
Stay tuned for Part 2.


Leave a comment