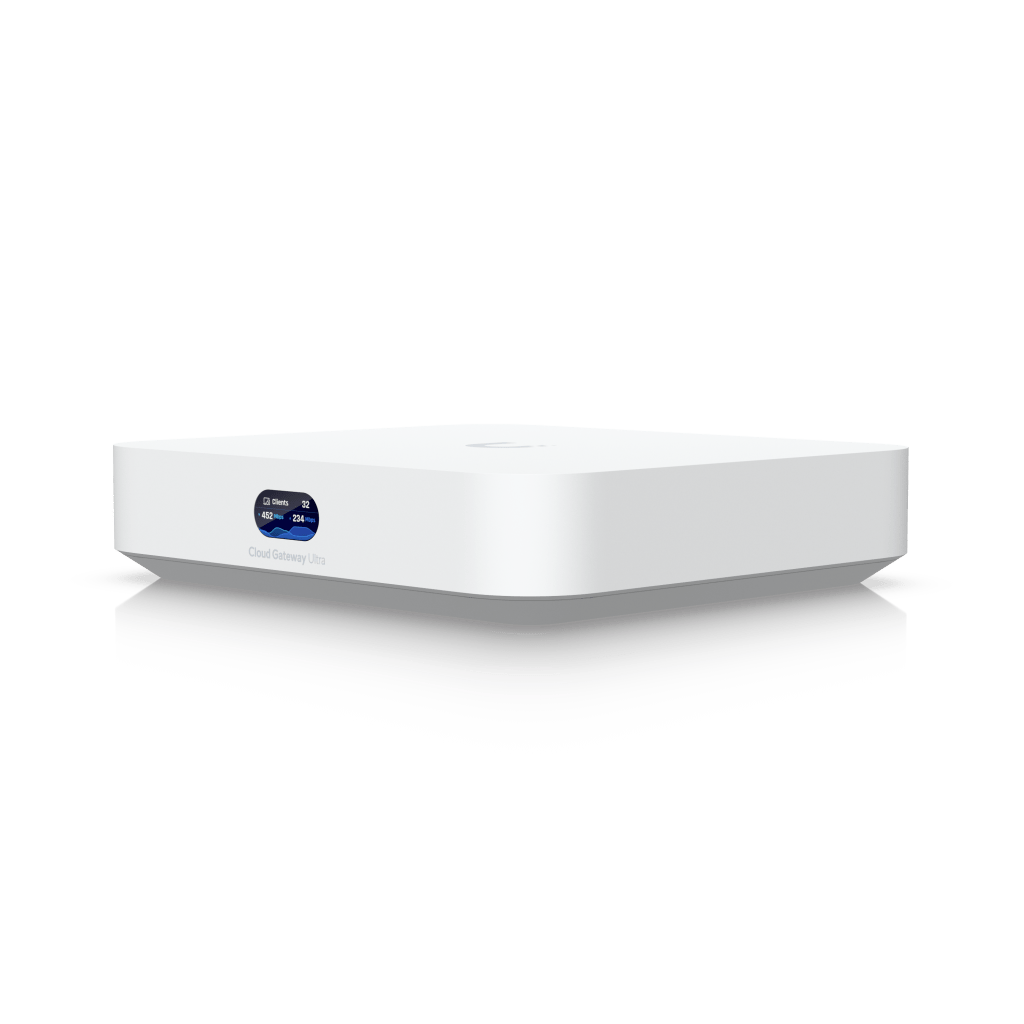
Setting Up the UniFi Cloud Gateway Ultra with BT Fibre
When it comes to upgrading your home network, sometimes the hardest part is knowing what kit you actually need. I recently went through this myself, moving away from the standard BT Smart Hub and over to a UniFi Cloud Gateway Ultra. The end result was excellent, but the journey included a few missteps along the way. If you are on BT fibre and thinking of doing the same, hopefully my story will save you some time.
The Wrong Start: Ordering a Vigor Modem
When I first went to investigate what I was working with, I checked under the stairs where the fibre terminates. I noticed the old ADSL termination point still on the wall, with a loose wire hanging out. For some reason I assumed that wire was feeding into my BT router, and that therefore I would need a dedicated DSL modem.
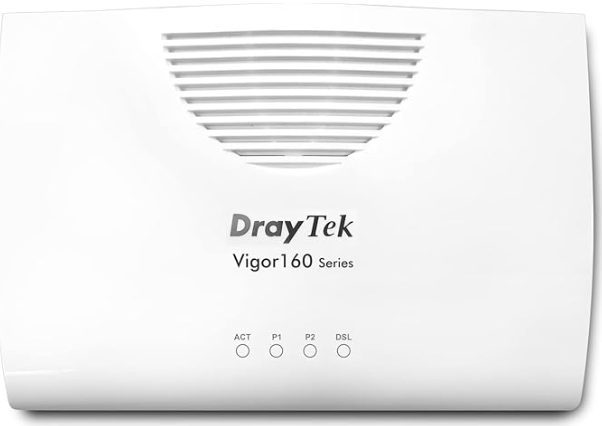
That assumption led me to order a DrayTek Vigor 167. The Vigor is a great bit of kit for anyone still on copper broadband. It is widely recommended for bridge mode with UniFi gateways. I dutifully logged in, started learning the configuration, and was preparing it to handle the PPPoE connection for BT.
Only after double checking how my BT router was actually connected did I realise the mistake. The Smart Hub was not connected to the telephone line at all. It was plugged via Ethernet into an Openreach fibre ONT. That meant I was already on FTTP (full fibre) and did not need a modem.
Lesson learned: always trace the actual cable going into your router before you assume what is on the other end. I should have paid more attention.
Vigor Modem – Great device, I just didnt need it!
The Easy Realisation: All I Needed Was the UniFi
With fibre coming into the house and the ONT already in place, the setup was far simpler than I first thought. The Cloud Gateway Ultra just needed to plug into the ONT via its WAN port and handle PPPoE authentication with BT.
On BT, the PPPoE settings are very straightforward:
- Username:
bthomehub@btbroadband.com - Password:
BT(or anything, as BT does not validate the password)
No VLAN tagging is required for FTTP. That’s only needed on VDSL lines where the modem has to tag VLAN 101.
Configuring the UniFi Cloud Gateway Ultra
With that cleared up, the actual setup was almost boringly simple:
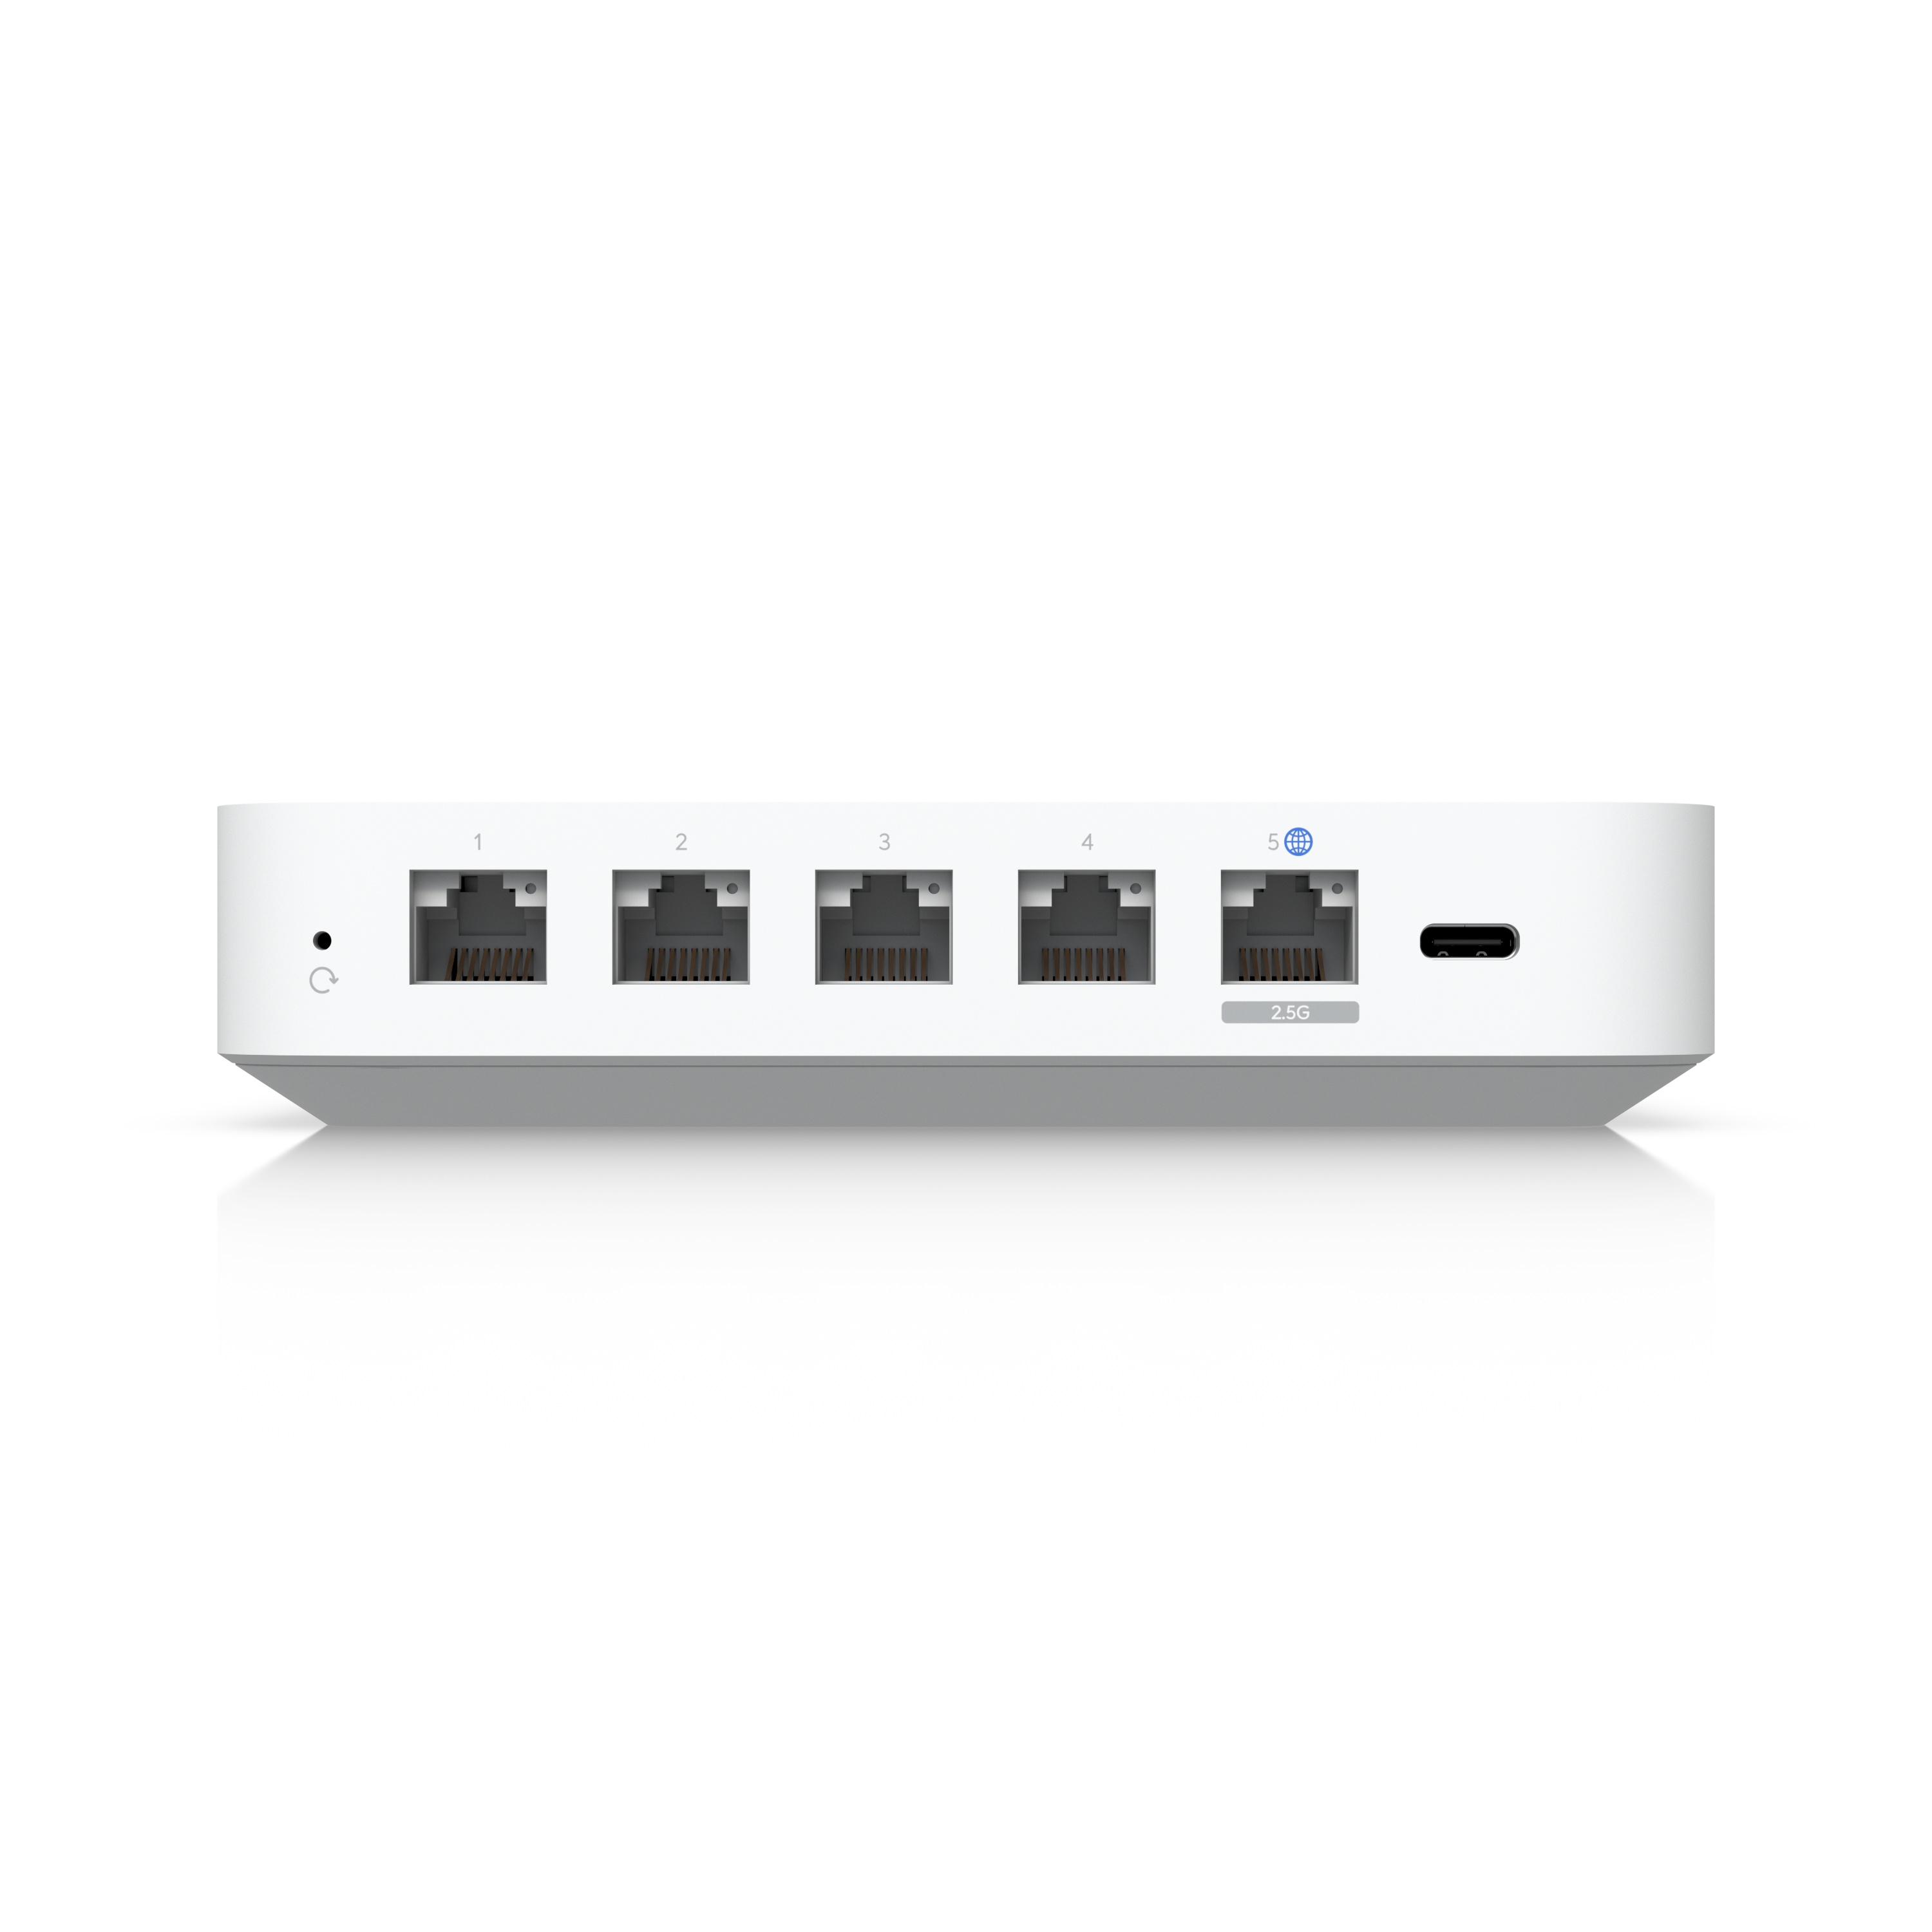
- Plug the ONT LAN port into the WAN1 port of the Cloud Gateway Ultra.
- Connect a laptop to one of the LAN ports and open the UniFi setup interface.
- Go to Settings → Internet → WAN1 → IPv4 Connection.
- Set the connection type to PPPoE and enter the BT credentials above.
- Save the settings and wait for the public IP to appear.
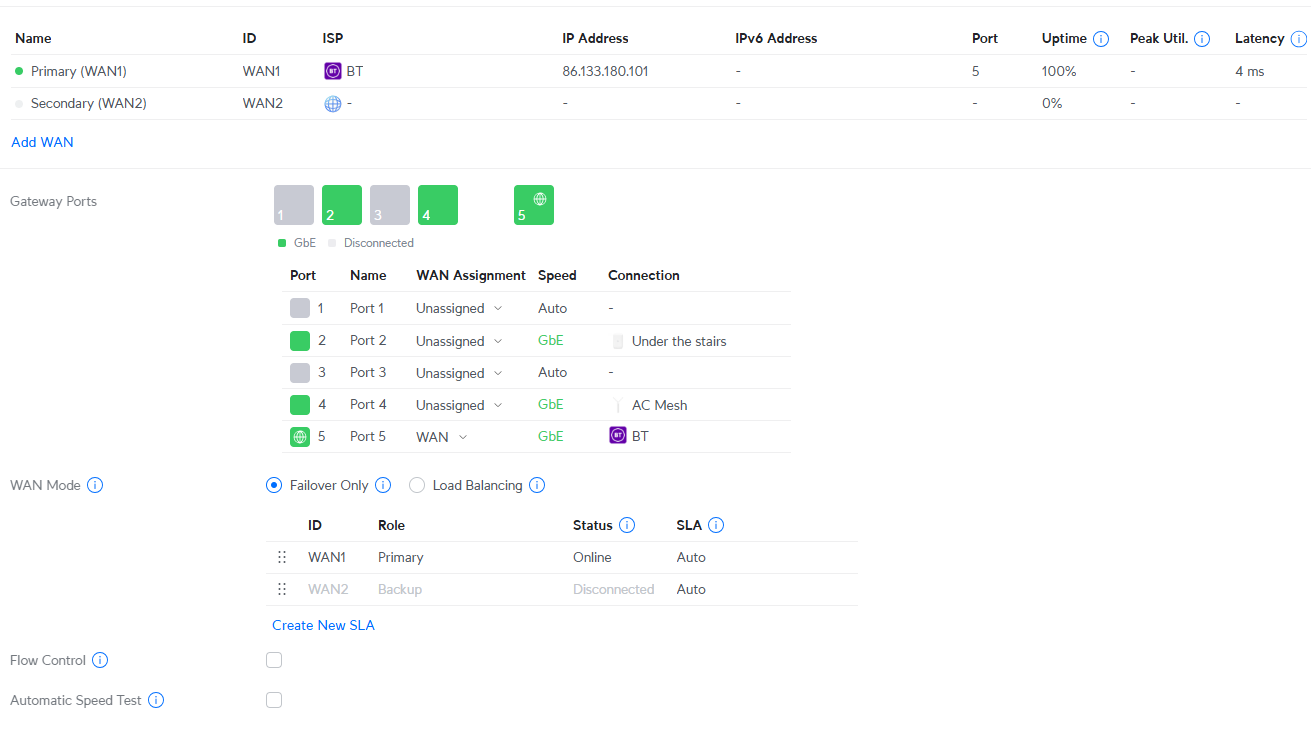
Within a minute or two the UniFi gateway was online, and I was seeing a proper BT public IP address in the dashboard.
Adopting Access Points
One of my other questions was whether I could adopt UniFi wireless access points before the gateway was online. The answer is yes. The gateway includes the UniFi controller software, and as long as your laptop or phone is on the LAN, you can adopt and configure APs without needing an internet connection.
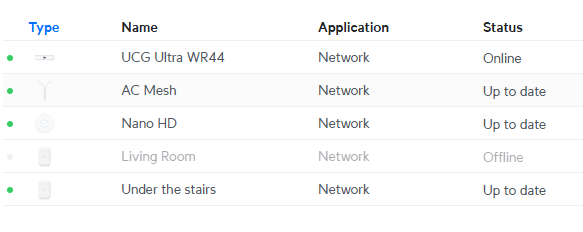
I had an AP running in standalone mode, so I reset it and connected it to the gateway. It appeared immediately as pending adoption in the UniFi dashboard. Once adopted, it pulled down the wireless networks I had set up and began broadcasting them properly.
Why I Chose UniFi
This project is part of a wider homelab and networking push. I work in IT, but like lots of tradespeople my own setup at home is never quite finished. I want to be able to cover the whole house in reliable Wi-Fi and provide a proper guest network for visitors.
As the kids get older, I want to segregate their traffic so I can apply filtering and improve security. As I add more IoT devices around the house, I want to keep them isolated on a separate network for peace of mind. VLANs and multiple SSIDs in UniFi make all of that achievable without too much complexity.
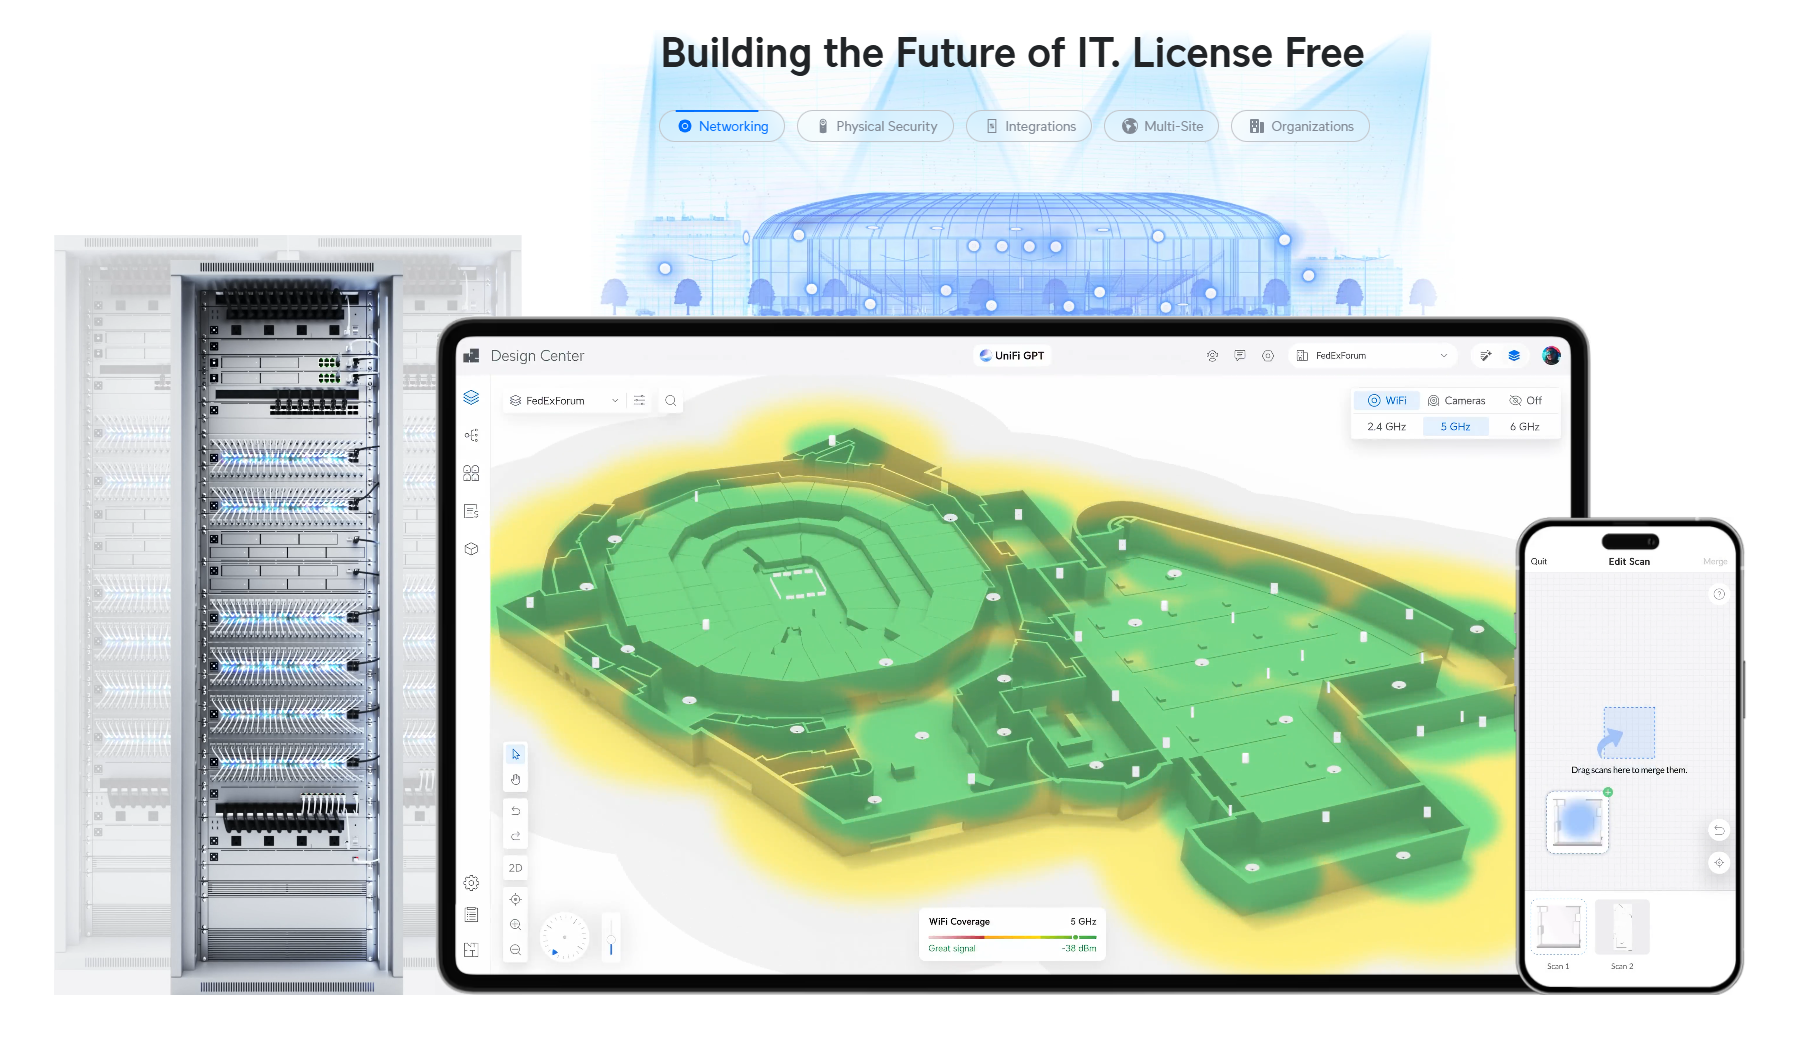
I also like the idea of investing in an ecosystem. With UniFi, the gateway, switches, and APs all integrate into a single pane of glass. It is the kind of environment that has good industry support and gives me something I can use to practice and familiarise myself with outside of work.
Down the line I will probably add something like Tailscale or another easy to configure VPN solution, so I can access my network securely while away.
Managing the Network from the App
Another pleasant surprise was how easy the UniFi Network app made management. By enabling remote access and linking the gateway to my UniFi account, I can see my whole network from anywhere. The app shows WAN status, client devices, and Wi-Fi networks. It also lets me make quick changes on the go. For heavier tasks like complex firewall rules, the web interface is still the better choice, but for day to day use the app is excellent.

Final Thoughts
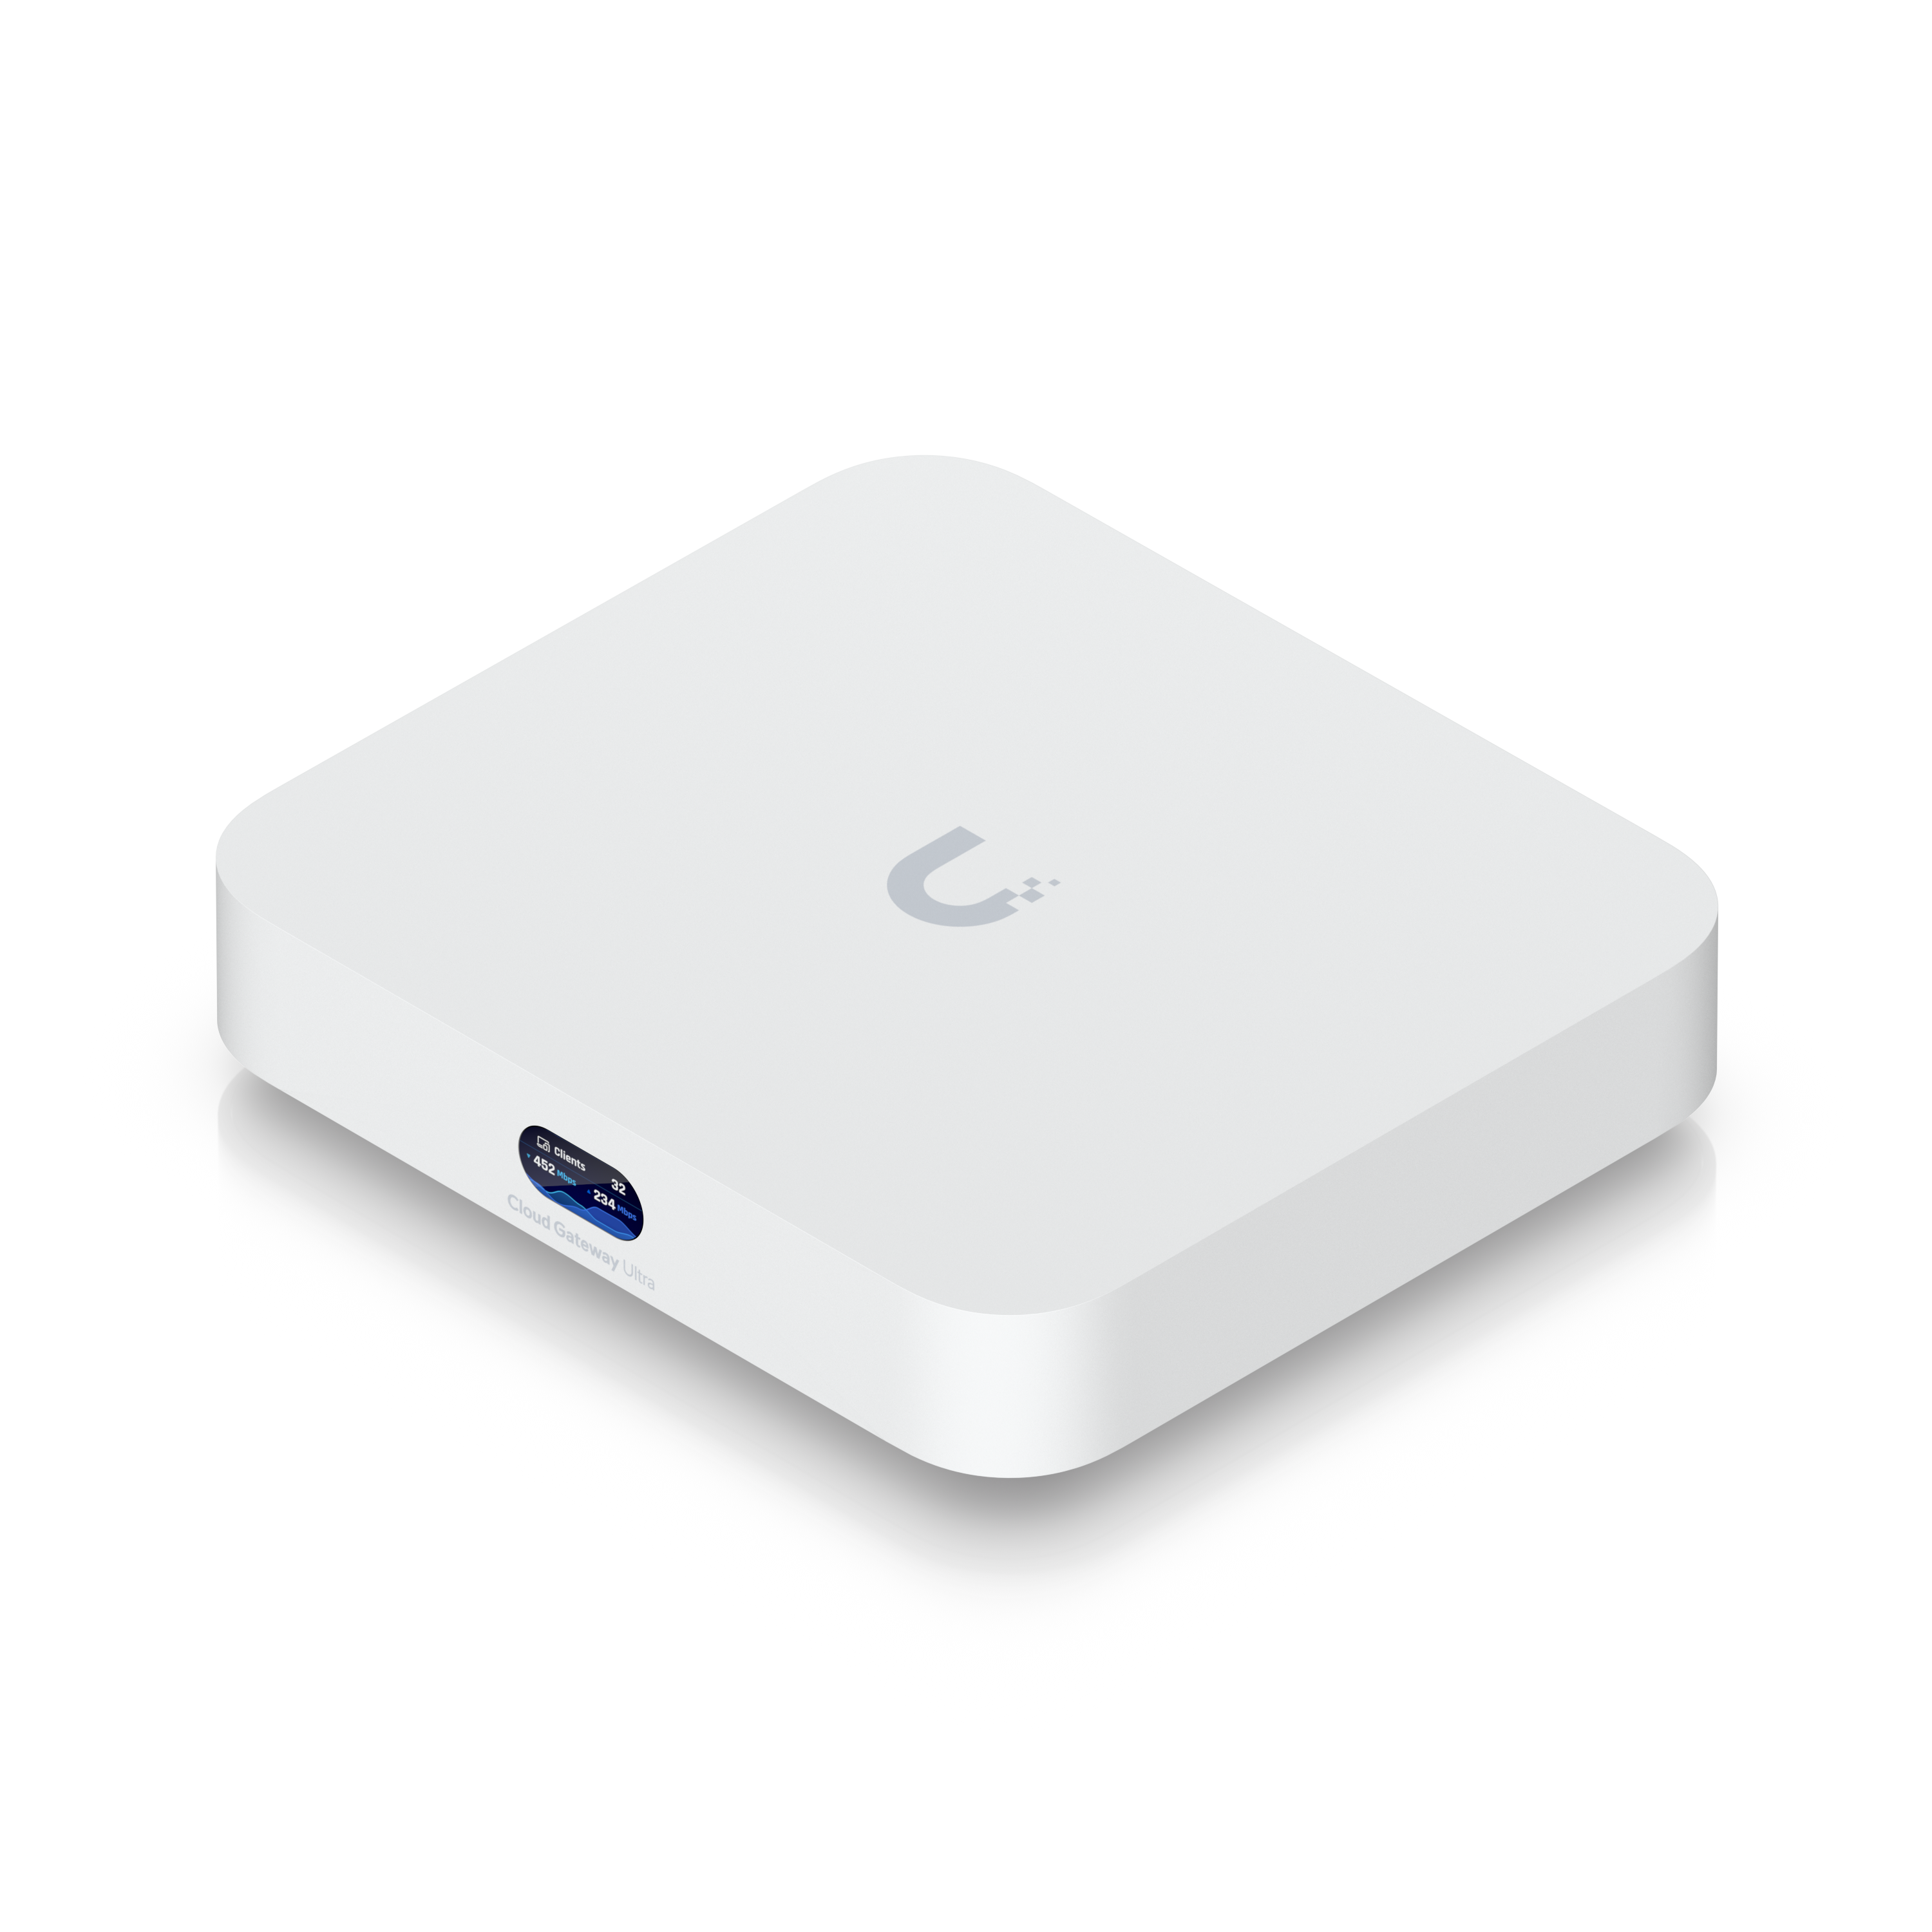
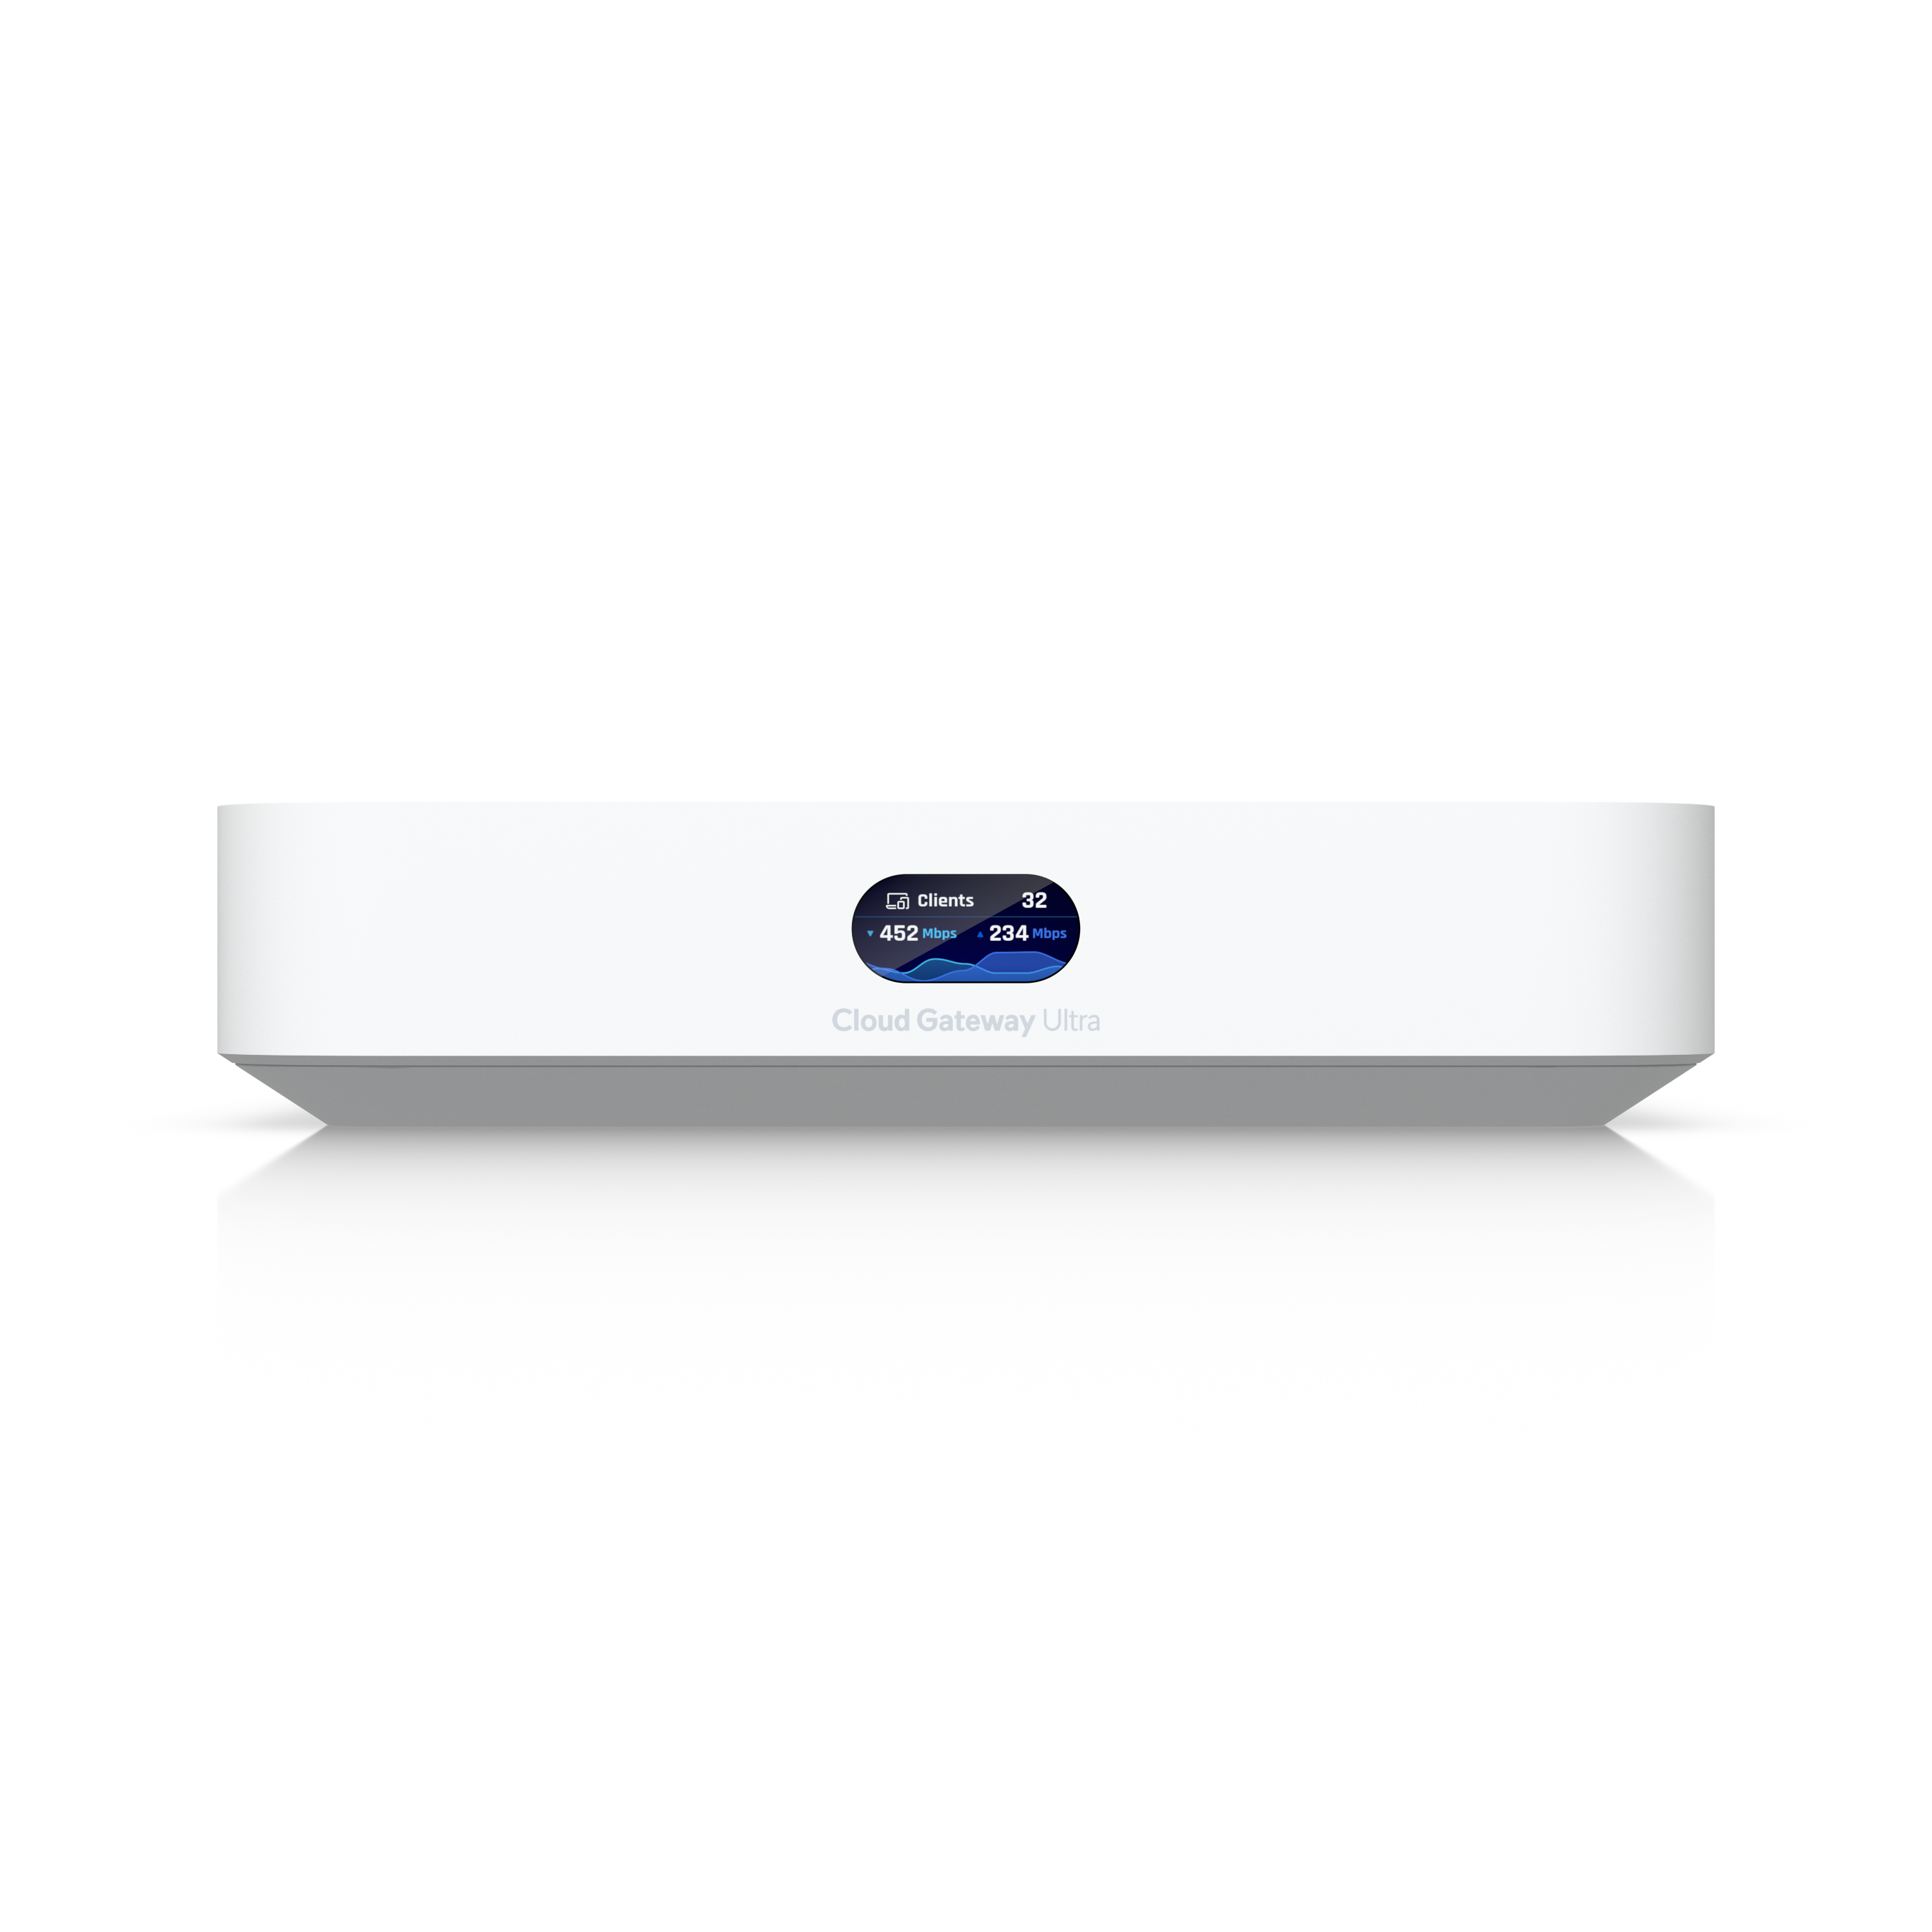
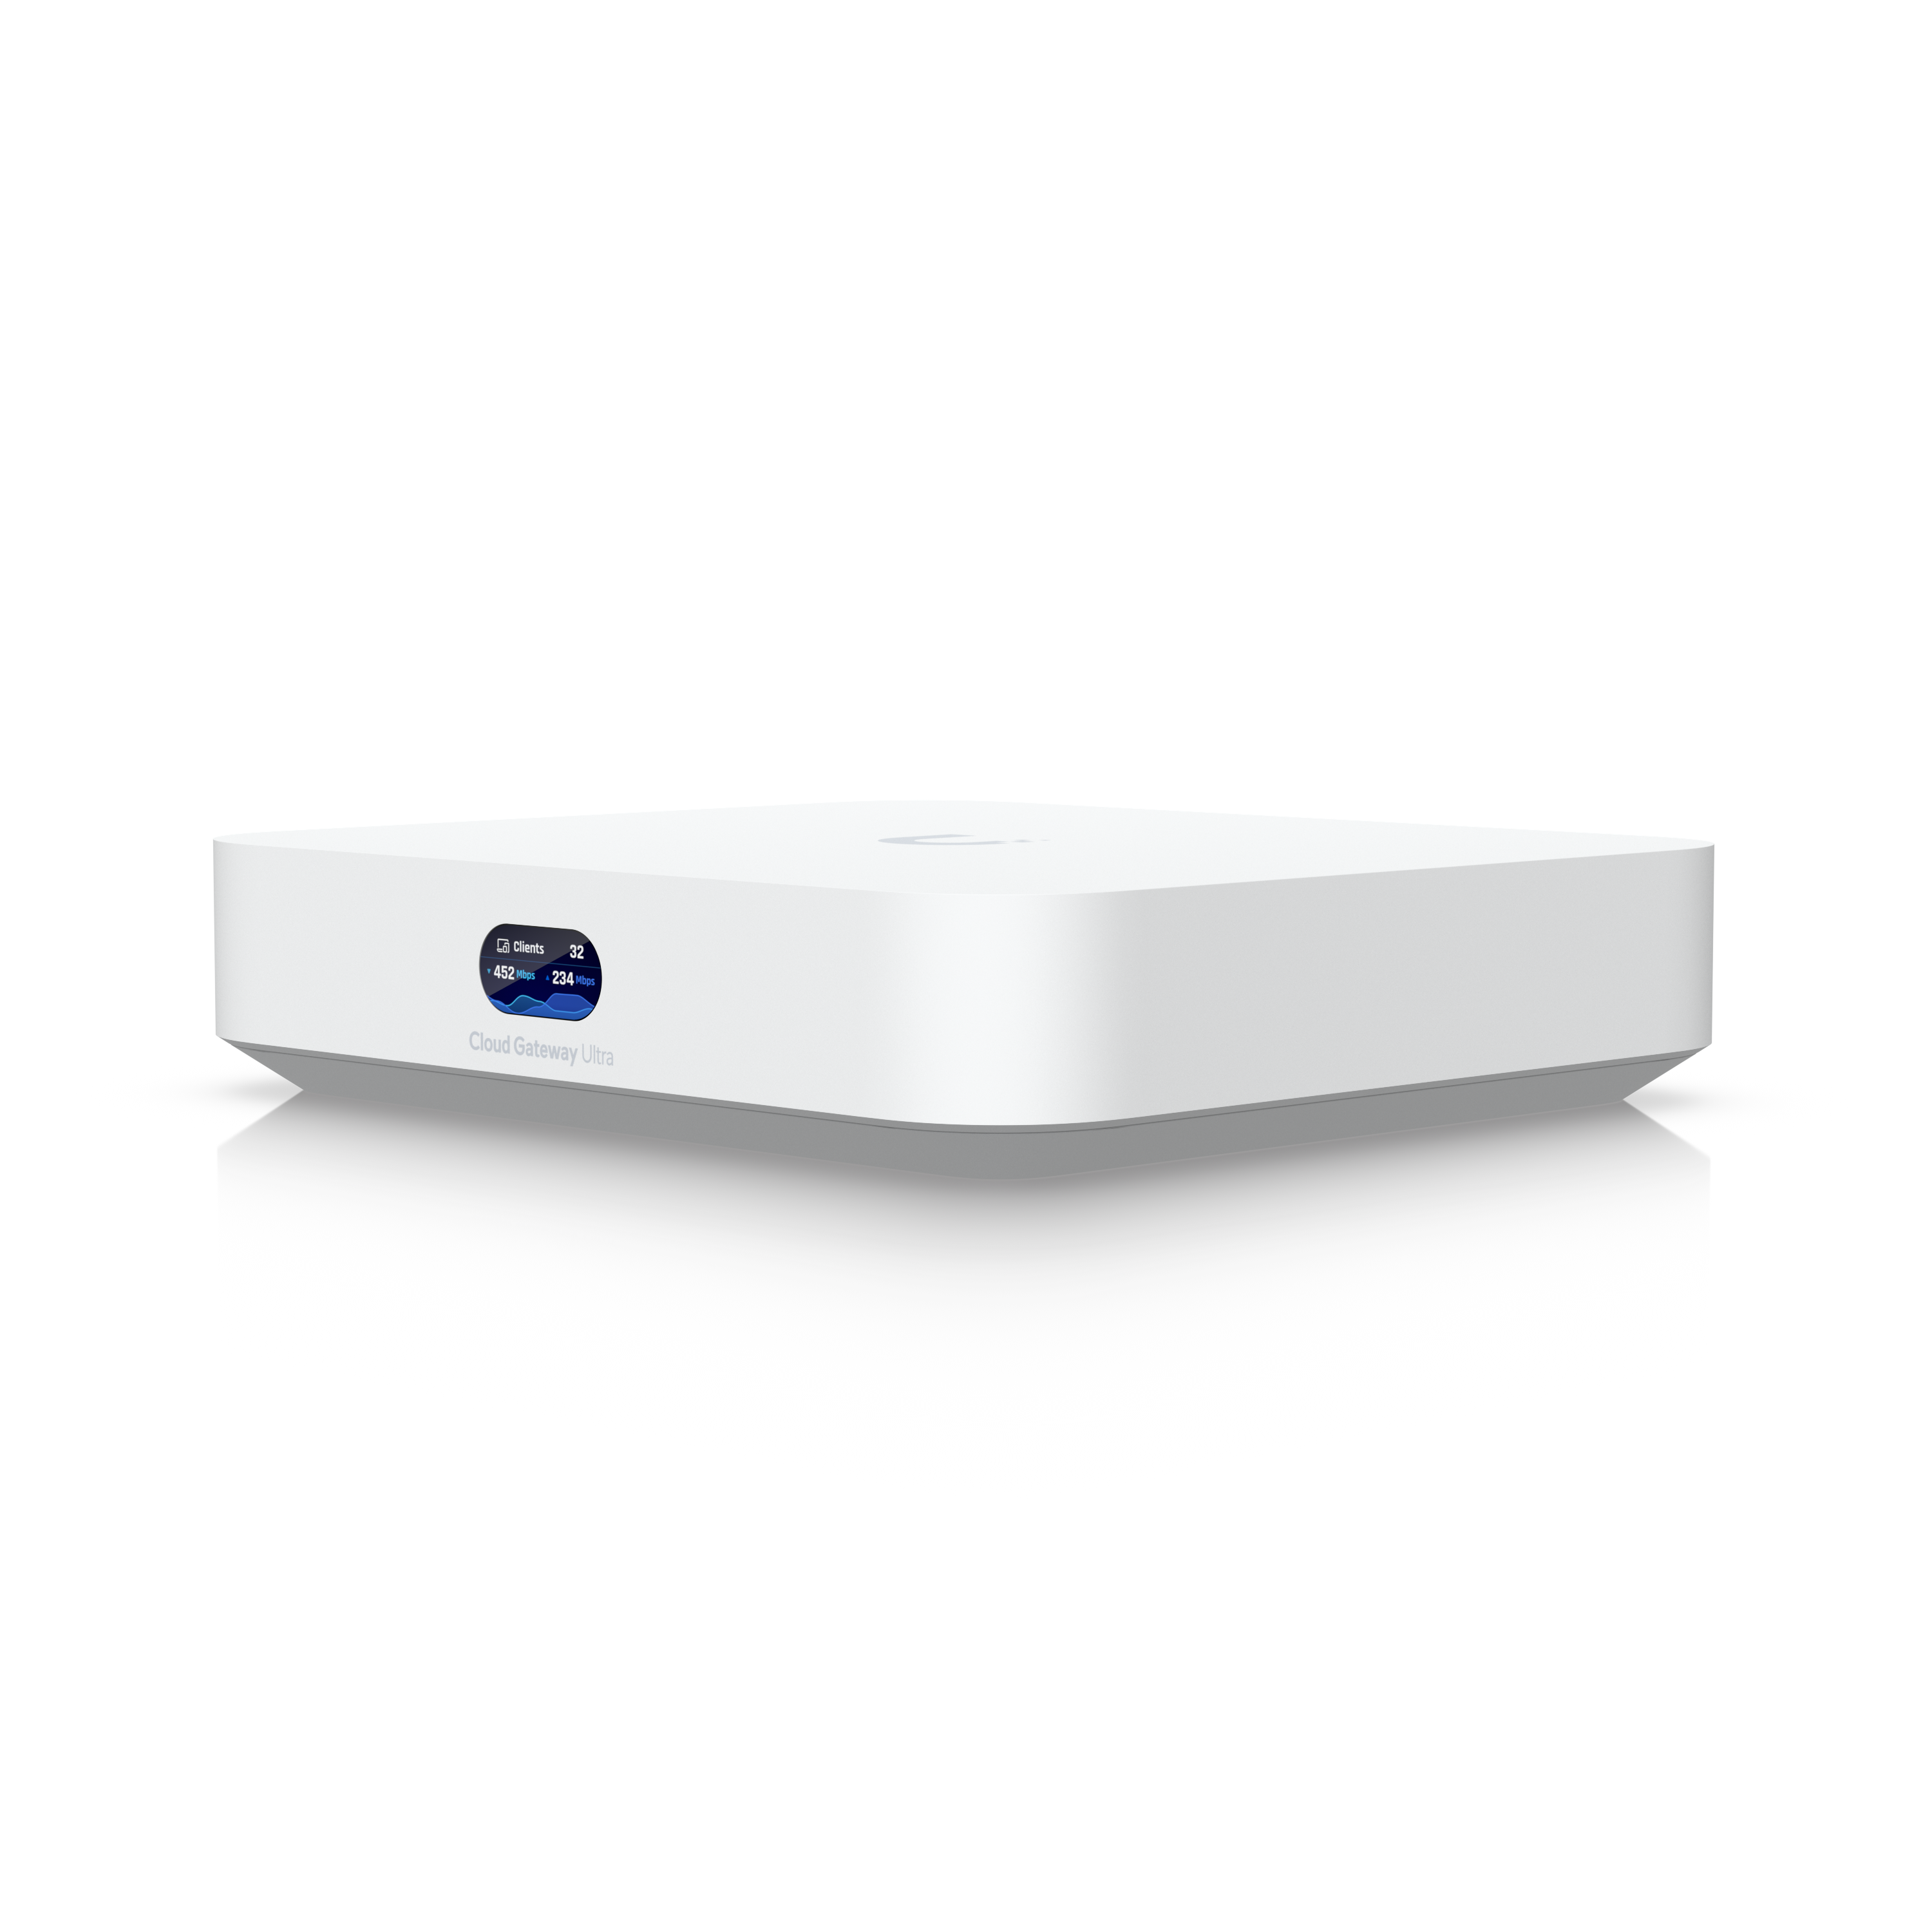
The UniFi Cloud Gateway Ultra has replaced my BT Smart Hub as the gateway for my entire network. The ONT handles the fibre-to-Ethernet conversion, and the UniFi takes care of PPPoE, DHCP, firewalling, and routing.
While I wasted a bit of time ordering and configuring a Vigor modem that I did not need, the process of getting the UniFi up and running with BT fibre turned out to be straightforward. Once I understood the difference between FTTC and FTTP, it all clicked into place.
If you are on BT full fibre, the message is simple: you do not need a separate modem. Just plug the Cloud Gateway Ultra directly into the ONT, enter the PPPoE details, and you will be online in minutes. From there, you can build out a flexible and secure home network, with all the features you would expect from professional-grade gear.
Next Steps: Designing the Network
Getting the UniFi Cloud Gateway Ultra online was just the first stage. The real power comes from how I can shape our network to fit our needs. My plan is to build out the following:
- Guest Wi-Fi: a dedicated SSID and VLAN for visitors, isolated from the main LAN so there is no accidental access to shared files or devices.
- Kids’ Network: a separate VLAN and SSID for the children, where I can apply content filtering, time limits, and monitor usage as they get older.
- IoT Network: a locked-down VLAN just for smart devices like cameras, speakers, and plugs. These often have weaker security, so keeping them isolated reduces risk.
- Main LAN: my core network for laptops, desktops, and home servers, with full access to shared resources.
- VPN Access: most likely via Tailscale or WireGuard, so I can securely reach my homelab and files from anywhere without exposing ports.
This kind of network segmentation is what UniFi makes simple. With a few VLANs and SSIDs, I can balance convenience with security. It is also a good way to practice the kind of setups I might design professionally, while keeping the home network flexible and future-proof.

Leave a comment